The Noelle Crochet Ear Warmer Pattern began as a customer request. I was sent a photo of a machine knit ear warmer and asked if I could make something similar. Up for the challenge, I got right to work.
The resulting Noelle Crochet Ear Warmer pattern is a lovely, soft and squishy, double layered twisted ear warmer. This pattern is great for keeping icy winter cold and biting wind at bay.
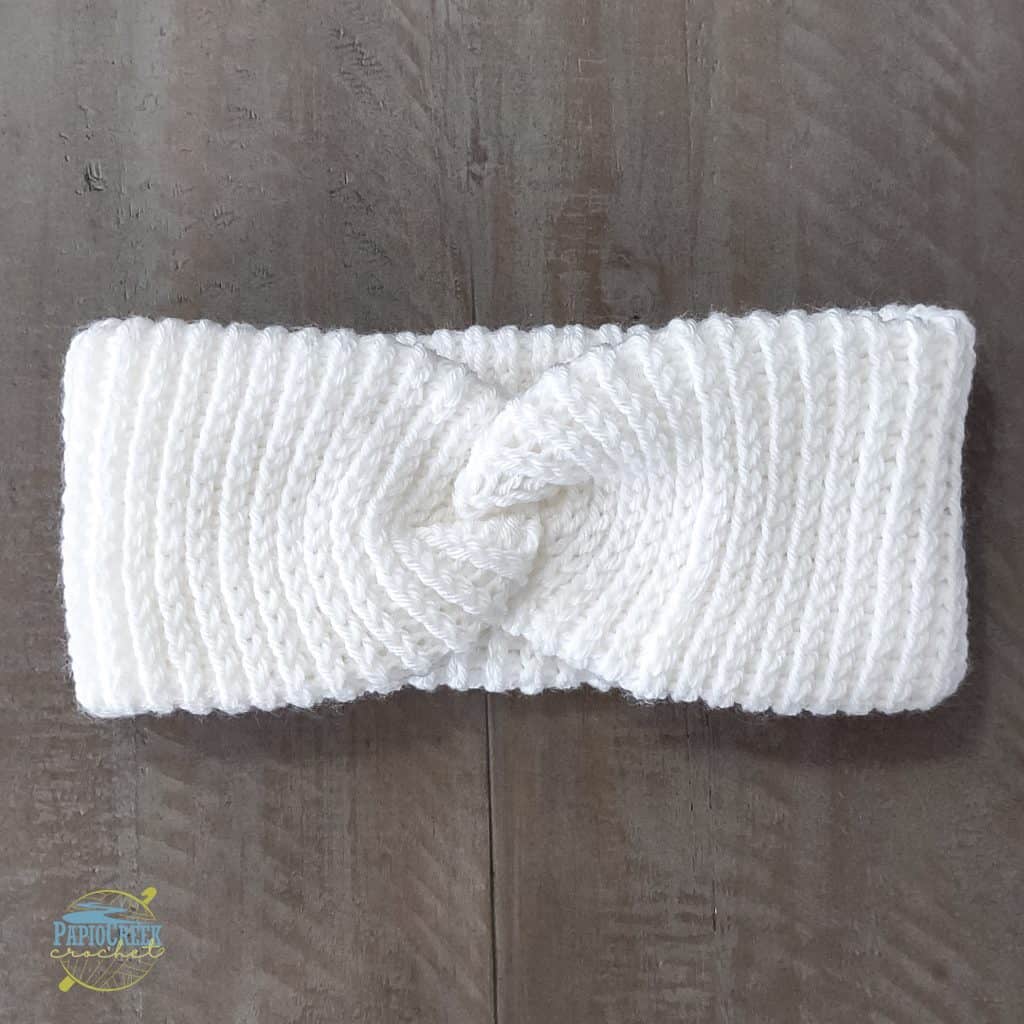
This pattern creates a soft and stretchy fabric that holds its size and shape really well.
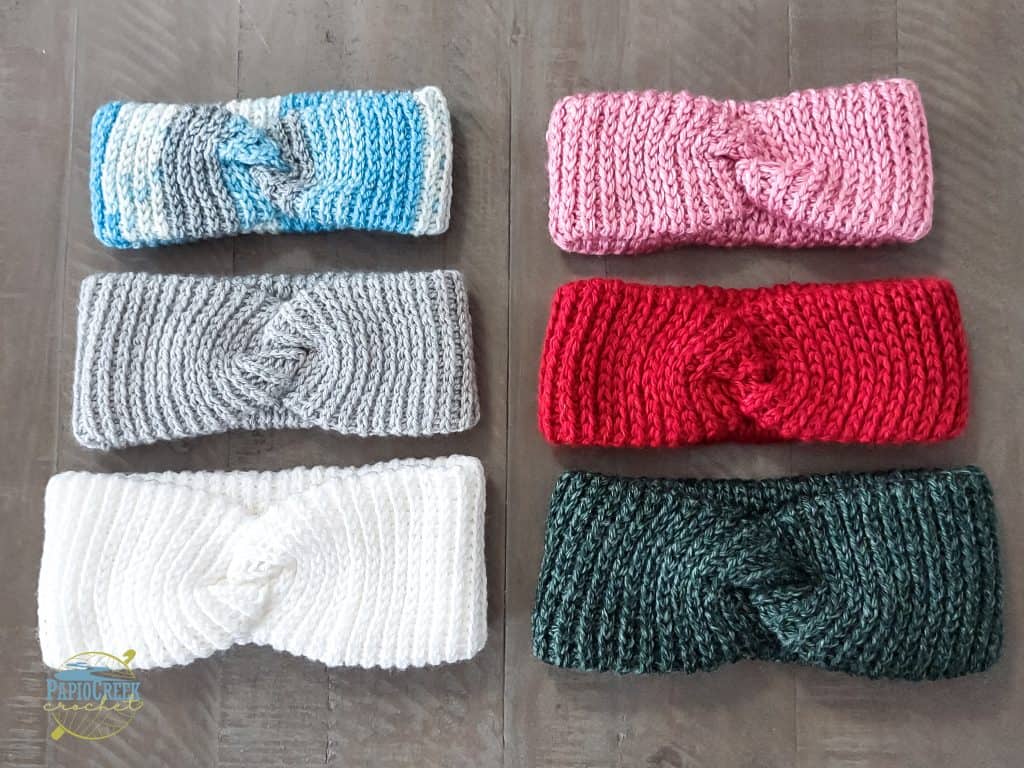
Written for three sizes and 2 different yarn weights, the Noelle Ear Warmer Pattern gives you lots of options for using yarn you have on hand.
Making size adjustments is as easy as adjusting the number of stitches in your foundation round or adjusting the number of rounds you crochet.
If you’d love an ad-free .pdf version of this pattern you can find it at Ravelry and on Etsy. The .pdf version of the Noelle Ear Warmer pattern is written in 3 sizes (Adult, Child and Toddler). Each pattern size is written for DK weight yarn and is also written for worsted weight yarn.
For the Noelle Ear Warmer-Adult size DK Weight yarn, you will need
Hook– H (5.0mm) Hook
Yarn– 53g / 1.9oz 133m /145 yds.
Extras– yarn needle, scissors, measuring tape, and stitch marker (optional)
Stitches used for the Noelle Ear Warmer
FHDC – Foundation Half Double Crochet
HDC3L-Half Double Crochet in the Third Loop
SLST-Slip Stitch
ST(S) – Stitch(es)
Finished Size of the Adult size Noelle Ear Warmer
Approx. 9″ W x 3.75″ H (Width is measured across the front of the assembled ear warmer)
Other things you need to know before you get making
US terms
Ear warmer is worked in continuous rounds, except for round one (foundation round), which is joined with a slip stitch.
A stitch marker can be placed in the first stitch of the round and moved up as you go if you desire.
If making a solid color ear warmer, there is no right side of the fabric. You can choose either side of the fabric to be the right side when it’s time to sew the ends together.
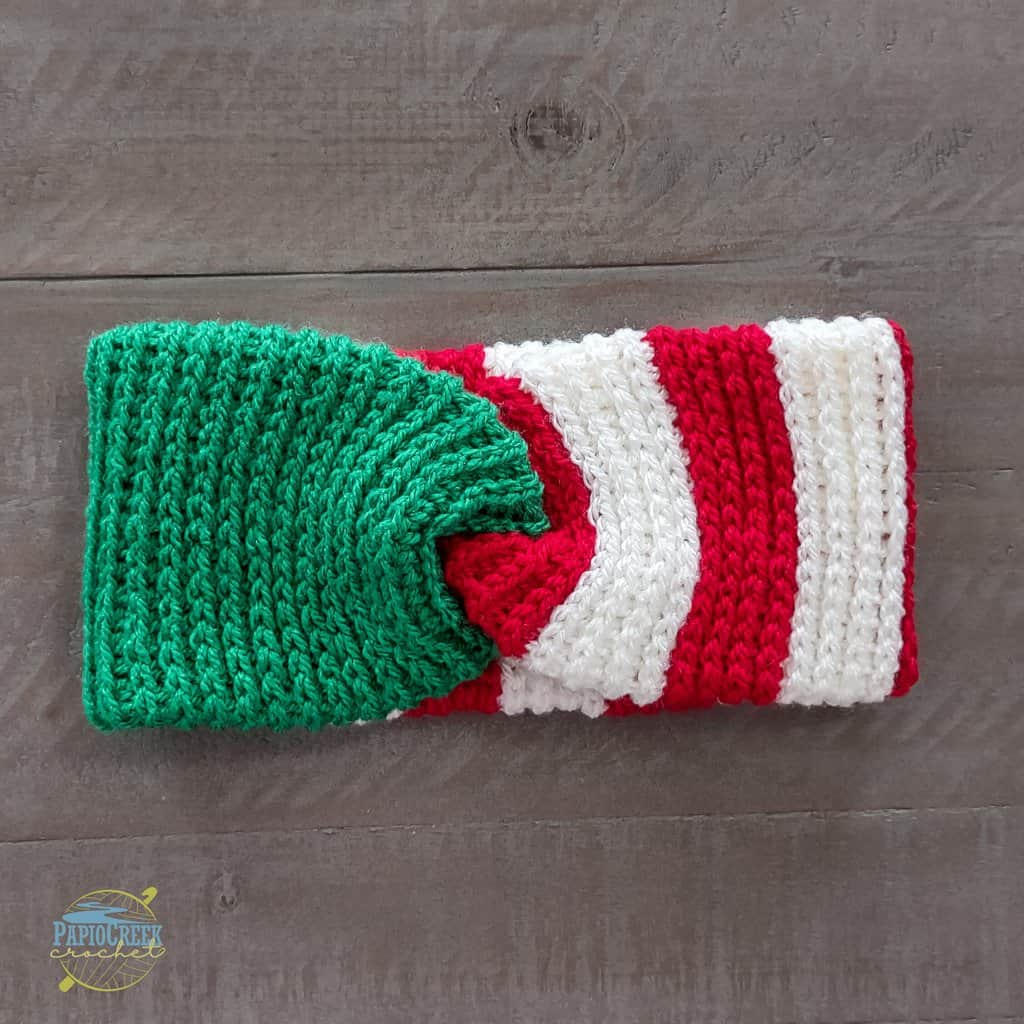
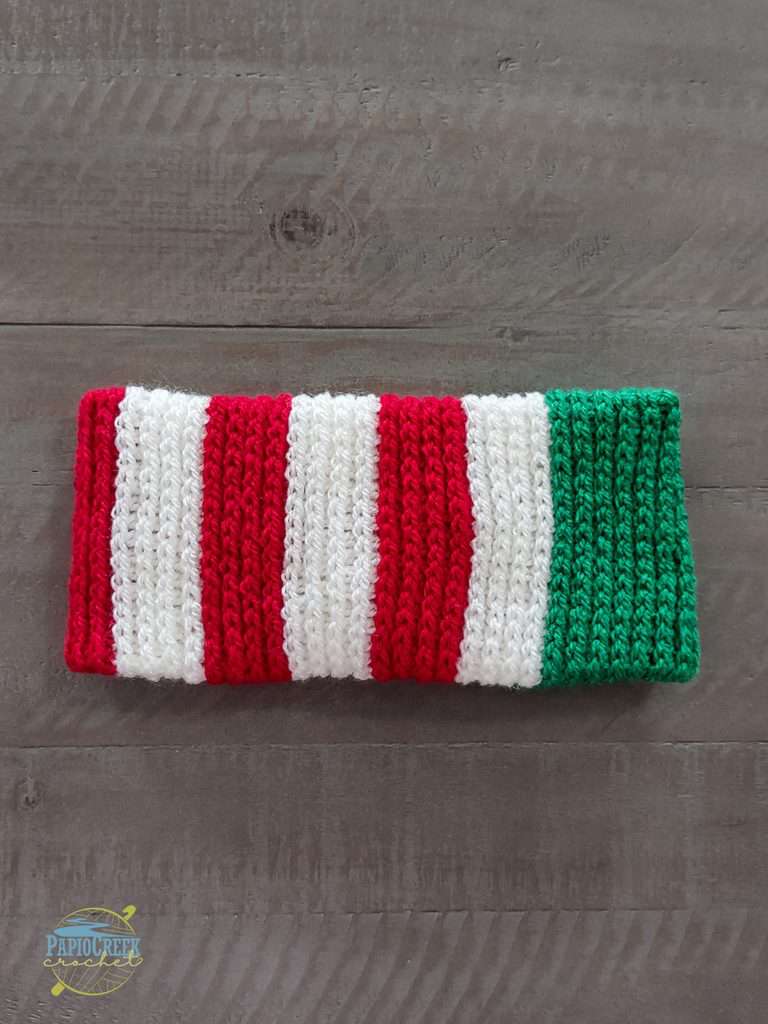
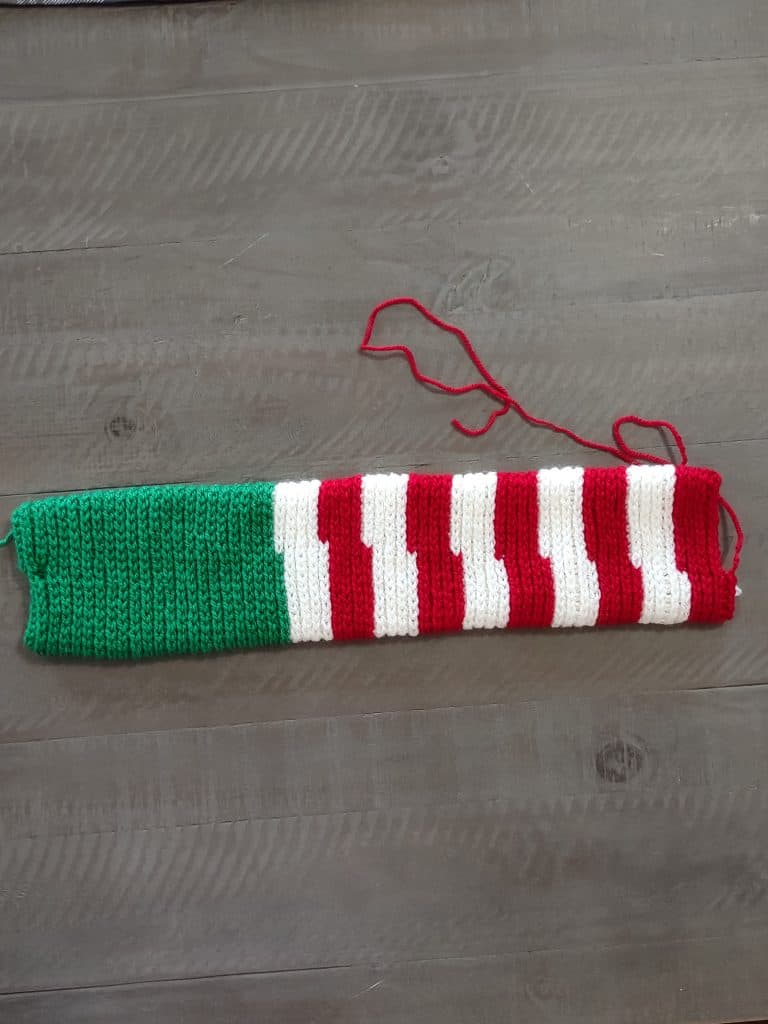
If making a mulit color ear warmer there is a right side and a wrong side of the fabric. * see photos below
This pattern is easily adjusted by adding/subtracting stitches from the foundation round (round 1) and you can make your rectangle tube longer or shorter if needed.
FOR MY STRIPED EAR WARMER- I made my striped version in DK Weight Yarn. Total length of the ear warmer before sewing ends together is 16″. I did 6″ (23 rounds) in green (cut yarn and fastened off), attached white on the last pull through of the last green stitch and continued in white. The red/white striped section is 1″ (4 rounds) of each color alternating for a total of 10 stripes (40 rounds). Since the rectangle is a tube, I loosely floated the color I wasn’t working with inside the tube.
Let’s get making!
Round 1- FHDC 32 STs. Join with SLST to first ST. (32 STs)
Throughout the remainder of the pattern, DO NOT join rounds.
Round 2- HDC 3L in each FHDC around. (32 STs)
Round 3- HDC3L in each ST around. (32 STs)
Rounds 4-63- Repeat Round 3 until your tube measures approximately 16″ (32 STs each round)
Finish off and cut yarn leaving a tail of about 6″.
Assembly
With your right side of fabric facing up, grab each short edge of ear warmer.

Fold short edges until they resemble the letter C/backwards letter C

Sandwich the short edges together so that you have left side edge, right side edge, left side edge and right side edge sandwiched and stacked on top of each other.
Thread your long yarn tail onto a yarn needle. Sew along the edge of the fabric making sure to catch all edges with each pass of the needle. Before you tie and weave in any tails, flip ear warmer right side out and check that you didn’t miss any part of the edge and that there are no holes. If all is good, tie off and weave in any ends.
Check out my Rib Stitch With A Twist pattern also on the web site.
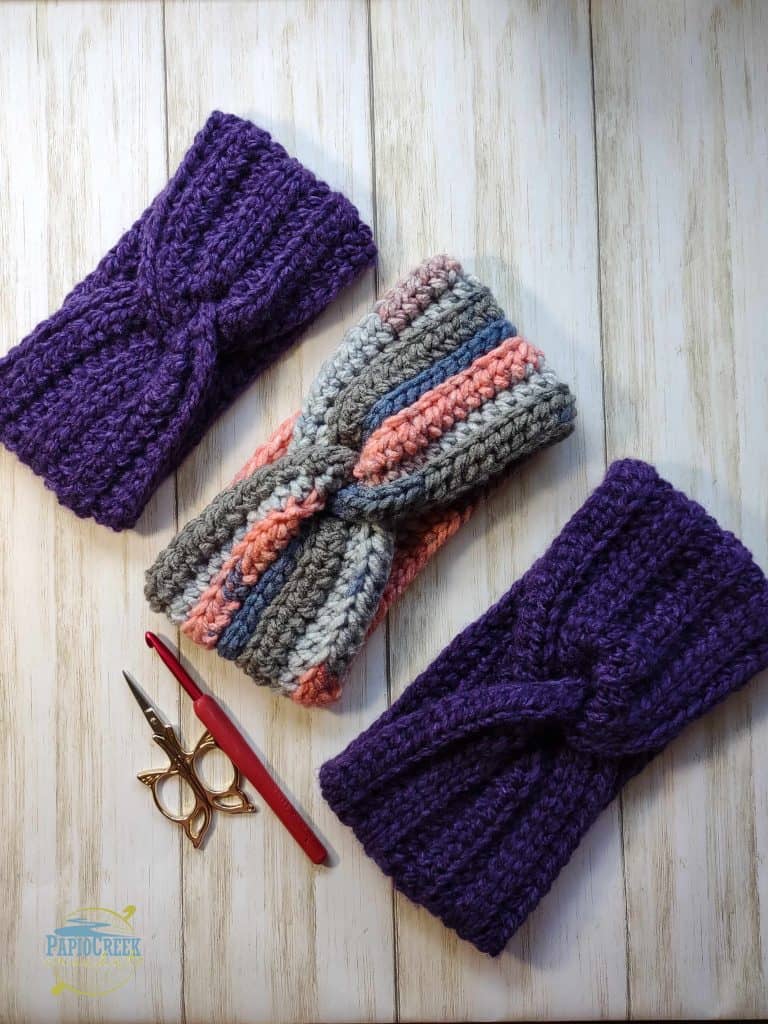
I love seeing your finished projects. Be sure to tag @papiocreekcrochet on social media so I can admire your work!

What a great collection of quick projects.! Thank you for posts! Nathalie